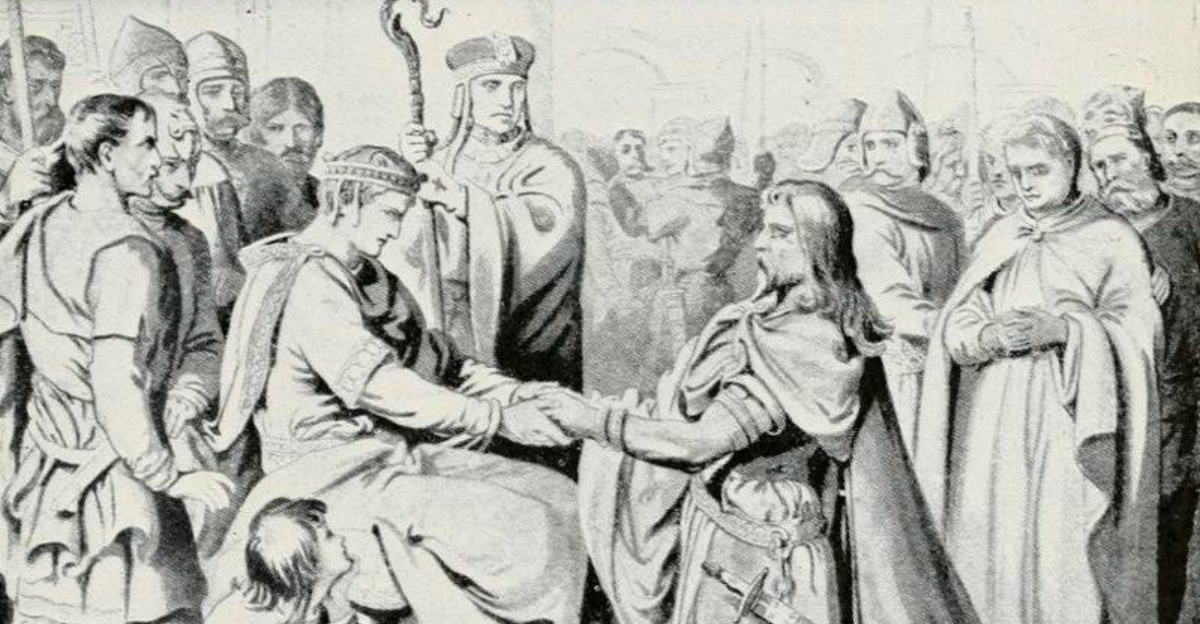
The Battle of Hastings, fought on October 14, 1066, is one of the most studied military confrontations in world history, yet most people can name only two or three people who were part of it. William the Conqueror and King Harold II tend to absorb all the historical spotlight, leaving dozens of remarkable individuals in the shadows. Behind the famous names were earls, knights, churchmen, minstrels, and ordinary warriors whose decisions, courage, and sacrifices directly shaped what happened on Senlac Hill. Some of these figures appear on the Bayeux Tapestry, others survive only in fragmentary chronicles, and a few are known only through later legends.
What connects them all is that their contributions to one of the most consequential days in English history have been consistently overlooked. This article brings thirteen of those forgotten figures back into focus, offering a clearer picture of just how many people it took to change the course of a kingdom.
1. Gyrth Godwinson

Before the first Norman arrow flew at Hastings, Gyrth Godwinson reportedly urged his brother King Harold to stay off the battlefield entirely. As Earl of East Anglia, Gyrth understood military strategy well enough to recognize that losing the king would mean losing everything. His advice, if followed, might have changed English history completely.
Harold refused, and Gyrth chose loyalty over caution. He took his place among the English commanders on Senlac Hill and fought through the brutal hours-long engagement. Medieval sources suggest William the Conqueror may have personally confronted and defeated him during the fighting.
His loss removed one of Harold’s sharpest military minds at the worst possible moment. Gyrth was not simply a younger brother tagging along out of family obligation. He was a seasoned earl with his own troops, his own political authority, and a clear understanding of what the Norman invasion actually meant for England’s future.
2. Leofwine Godwinson

Standing beside his brothers on the bloodiest day of 1066, Leofwine Godwinson made a choice that cost him everything. As Earl of Kent and Essex, he had the rank and the resources to have positioned himself elsewhere in England, maintaining power regardless of who won at Hastings. He stayed anyway.
The Bayeux Tapestry includes a scene widely believed to depict Leofwine falling in battle, which makes him one of the few non-royal English fighters to receive visual recognition in that remarkable historical record. His death occurred near Harold’s standard, suggesting he held a central position in the English defense.
What his loss meant practically was significant. With both Gyrth and Leofwine gone, the Godwinson family’s grip on English military and political power collapsed within a single afternoon. Leofwine’s willingness to fight rather than retreat reflects the kind of commitment that historians often attribute to Harold alone but that clearly ran through the entire family.
3. Bishop Odo of Bayeux

Carrying a club instead of a sword was not an accident for Bishop Odo of Bayeux. Church law technically prohibited clergy from shedding blood with a blade, so Odo found a creative workaround that let him fight without technically violating that rule. Whether anyone found this convincing at the time is a separate question.
The Bayeux Tapestry, which Odo likely commissioned himself, shows him rallying Norman troops at a critical moment when parts of the army appeared to be wavering. That scene reflects something important: Odo was not just a political figure watching from a safe distance. He was actively present on the battlefield, influencing soldiers under real pressure.
As William the Conqueror’s half-brother, Odo combined religious authority with military involvement in a way that was unusual even by eleventh-century standards. His role at Hastings was far more hands-on than most bishops of his era, and his later career as one of England’s most powerful post-Conquest lords confirms he was never content to stay on the sidelines.
4. William FitzOsbern

Long before the Norman fleet ever set sail, William FitzOsbern was already working to make the invasion possible. As one of William the Conqueror’s oldest and most trusted friends, he helped organize the logistics, secure noble support, and build the political consensus needed to launch a cross-Channel military campaign of that scale.
During the battle itself, FitzOsbern commanded a section of the Norman army and served as a steadying presence among William’s commanders. His experience in managing both men and resources made him valuable in ways that extended well beyond personal combat.
After the victory at Hastings, FitzOsbern became one of the most powerful men in the new Norman England, serving as a key administrator in the difficult early years of the Conquest. He was appointed Earl of Hereford and played a central role in establishing Norman authority across the country. His contributions before, during, and after October 14, 1066, make him one of the most consequential figures most people have never heard of.
5. Eustace II, Count of Boulogne

Eustace II arrived at Hastings as an independent lord with his own agenda, his own knights, and a complicated history with England that stretched back years before 1066. He had previously clashed with English authorities during a violent incident at Dover in 1051, which made his alliance with William both politically interesting and personally motivated.
His most significant moment at Hastings may have come during a crisis in the middle of the battle. When rumors spread through the Norman ranks that William had been killed, panic began to set in. The Bayeux Tapestry appears to show Eustace pointing toward William to prove the duke was still alive, an act that helped restore order at a genuinely dangerous moment.
Without that intervention, the Norman army might have broken apart entirely. Eustace’s quick action in that moment arguably saved the entire campaign. He received significant English landholdings after the Conquest, a reward that suggests William recognized exactly how important his contribution had been during those uncertain minutes on Senlac Hill.
6. Taillefer

No figure from the Battle of Hastings is quite as theatrical as Taillefer, the Norman minstrel-knight who reportedly rode out ahead of the entire army before the fighting began. According to several medieval chroniclers, he juggled his sword, sang verses from the Song of Roland, and then charged directly into the English lines on his own.
He was killed almost immediately, which was entirely predictable given the circumstances. But his display became one of the most retold stories from the entire battle, preserved in chronicles written decades afterward by writers who clearly found the image impossible to forget.
Whether the account is fully accurate or embellished over time is genuinely uncertain. What matters historically is that contemporaries and later writers chose to record it, which tells us something about the cultural values of Norman military culture. Courage performed publicly, even recklessly, carried real social weight in 1066. Taillefer may have been a skilled fighter, a showman, or both, but he became a legend either way.
7. Roger de Montgomery

Commanding the left flank of the Norman army at Hastings required experience, discipline, and the ability to hold soldiers together under sustained pressure. Roger de Montgomery had all three qualities, which is why William the Conqueror trusted him with that critical assignment on October 14, 1066.
Roger had been one of William’s most dependable nobles for years before the invasion. He did not cross the Channel with the initial fleet, reportedly staying behind to help manage Normandy in William’s absence, but his influence on the campaign’s preparation was substantial.
After the Conquest, Roger became one of the most powerful magnates in England, receiving vast landholdings and eventually the earldom of Shrewsbury. His administrative and military contributions to establishing Norman rule in England were enormous. The Montgomery family became a defining force in both English and Welsh border history for generations afterward, a legacy that began directly from the decisions made and alliances forged during the 1066 campaign.
8. Hereward the Wake

Hastings was already over by the time Hereward the Wake became relevant, but that is precisely what makes his story worth telling in this context. While most English resistance collapsed after October 1066, Hereward organized and led a prolonged campaign against Norman rule from the marshy fenlands of eastern England, centered around the Isle of Ely.
His operations between roughly 1069 and 1071 kept English resistance credible long after most nobles had accepted or accommodated Norman authority. He attracted followers from across the country, including Danish allies, and forced William to mount a serious military response to suppress his activities.
Medieval English chroniclers later turned Hereward into a folk hero, and his story fed into later traditions of outlaw resistance that shaped English cultural identity for centuries. Whether he survived after Ely fell or reached some kind of settlement with William remains historically unclear. What is clear is that his refusal to accept the outcome of Hastings made him one of the most consequential figures of the entire Conquest period.
9. Wadard

Most people who study the Bayeux Tapestry focus on the dramatic battle scenes, but tucked into the narrative is a figure named Wadard, identified by name in the embroidery’s Latin text. That specific naming is significant because the tapestry does not identify most of the people it depicts, which means Wadard mattered enough to someone, likely Bishop Odo’s circle, to be singled out.
Historians believe Wadard was one of Odo’s trusted household knights, possibly responsible for overseeing provisions or managing the movement of supplies before the battle. The scene in which he appears involves what looks like the organization of food, suggesting a logistical rather than purely combat role.
Keeping an army fed and supplied across a Channel crossing and into unfamiliar territory was genuinely difficult work. Someone had to manage it, and Wadard appears to have been that person. His presence in one of history’s most famous historical records is a reminder that successful military campaigns depend on organizational competence just as much as battlefield courage.
10. Vital

Vital shares something unusual with Wadard: he is one of only a small number of individuals named directly in the Bayeux Tapestry’s text. The scene in which Vital appears shows him delivering information to William the Conqueror, possibly reporting on the movements or position of Harold’s army in the period just before the main engagement began.
Intelligence gathering before a medieval battle was not glamorous work, but it was essential. A commander who understood where the enemy was positioned and how they were organized had a significant advantage over one who did not. Vital’s role in that process, if the tapestry’s depiction is accurate, placed him at the center of William’s decision-making at a critical moment.
Like Wadard, Vital’s documentary record outside the tapestry is thin. He appears in a few land records from the post-Conquest period, suggesting he received modest rewards for his service. His name surviving at all, stitched into embroidery that has lasted nearly a thousand years, is itself a small historical miracle.
11. Aelfwig, Abbot of New Minster

Medieval abbots were not typically found on active battlefields, which is what makes Aelfwig’s presence at Hastings historically striking. As Abbot of New Minster in Winchester, he held significant religious authority and institutional responsibility, yet multiple medieval sources place him among Harold’s forces on October 14, 1066.
He reportedly brought a contingent of men from his monastery’s estates, fulfilling the military obligations that major religious houses owed to the crown under Anglo-Saxon law. His role was not that of a fighting warrior but of a leader providing both manpower and spiritual authority to the English cause.
Aelfwig is believed to have died at Hastings, making him one of the highest-ranking churchmen to fall in the engagement. His willingness to accompany the army at what was likely an advanced age reflects how seriously the Anglo-Saxon church took its responsibilities to the English kingdom during a genuine crisis. His story rarely appears in mainstream accounts of the battle, but it adds an important dimension to understanding who was actually present on Senlac Hill.
12. Ralph the Staller

Surviving a conquest while maintaining personal dignity and political relevance is its own kind of skill, and Ralph the Staller managed it more successfully than almost any other English nobleman of his era. He had served Edward the Confessor as a senior court official and continued under Harold, giving him deep experience navigating the complicated politics of mid-eleventh-century England.
His background was actually mixed, with Norman and Breton family connections alongside his English career, which may have helped him adapt to the post-Conquest environment more smoothly than purely Anglo-Saxon nobles could. William retained him in a position of some authority after 1066, recognizing his administrative usefulness.
Ralph’s career illustrates a reality that simpler narratives of the Norman Conquest tend to ignore: the transition from Anglo-Saxon to Norman rule was not a clean break. Many individuals moved carefully through the change, preserving influence through competence and flexibility. Ralph the Staller is one of the clearest examples of how that complicated middle ground actually worked in practice.
13. Harold Hardrada’s Veterans

Within the span of roughly three weeks in September and October 1066, a core group of English warriors fought two separate major battles separated by nearly 200 miles of English countryside. They defeated the Norwegian king Harald Hardrada at Stamford Bridge on September 25, then marched south at speed to face William’s Normans at Hastings on October 14.
The march alone covered approximately 190 miles in about nine days, which is a genuinely demanding pace for men carrying weapons and armor. Many arrived at Senlac Hill without adequate rest, reduced supplies, and depleted numbers from the northern engagement.
Despite those conditions, the English shield wall held for most of the day against repeated Norman cavalry charges and arrow volleys. That sustained resistance was not accidental. It reflected the professional quality and determination of the housecarls and experienced thegns who had already proven themselves at Stamford Bridge. Their collective endurance on October 14 deserves recognition as one of the more remarkable physical and military efforts of the entire medieval period in England.