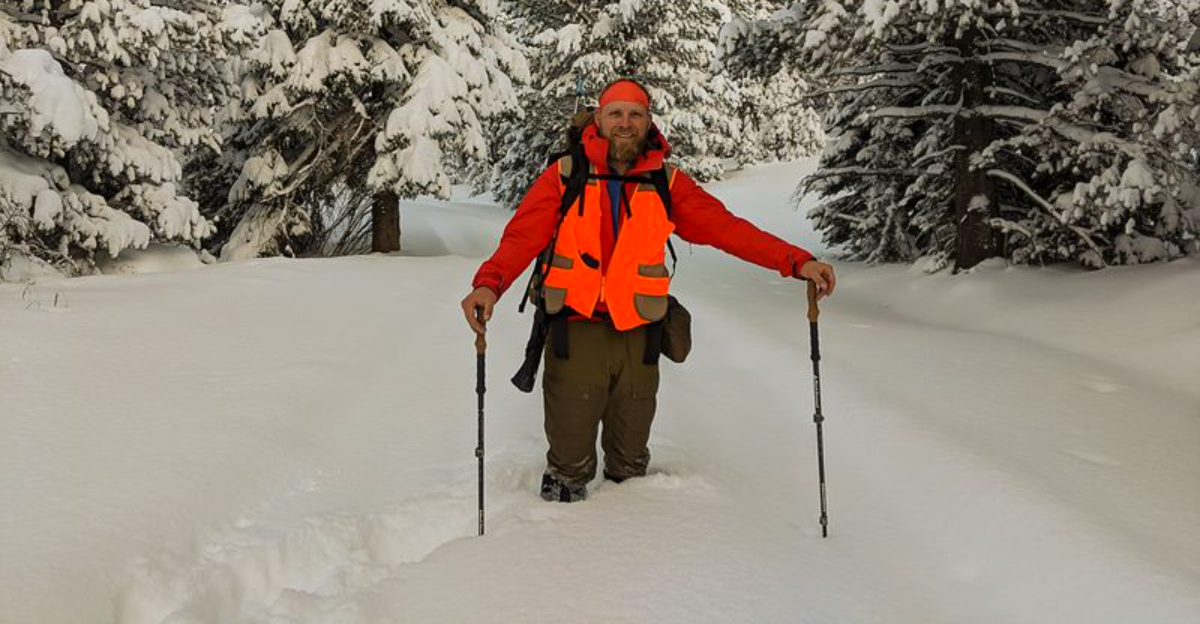
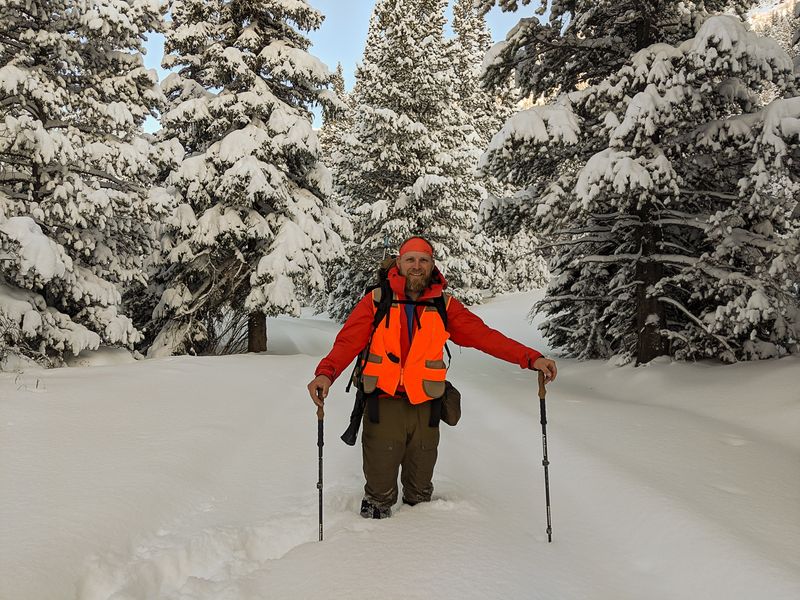
Winter trails can be breathtaking, but cold, wind, and ice demand thoughtful preparation. The right gear keeps you warm, stable, and confident when conditions shift without warning. This guide highlights essential items that experienced hikers rely on to stay safe and comfortable. Read on to build a kit that turns frigid terrain into an inviting adventure rather than a risky gamble.
1. Insulated Waterproof Boots
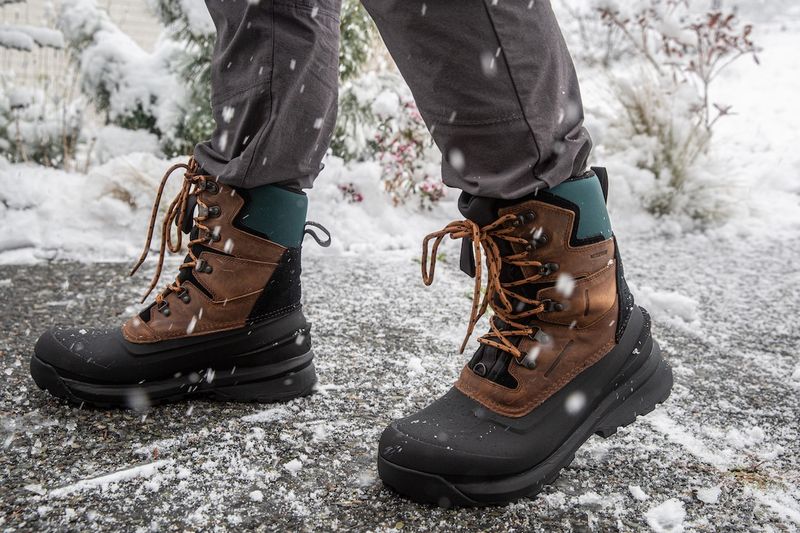
Insulated waterproof boots are the foundation of winter hiking comfort and safety. Look for ample insulation rated for subfreezing temperatures, combined with a waterproof membrane that seals out slush and meltwater. A high-traction outsole with deep lugs and a winter-specific rubber compound helps grip icy surfaces. Choose a supportive ankle cut to reduce twists when stepping into hidden holes or crusty snow. Roomy toe boxes accommodate thicker socks without constricting circulation. Removable liners speed drying between outings. Pair with compatible gaiters to block snow entry. Break them in before big mileage, and test fit with your chosen winter socks.
2. Layered Clothing System

A layered clothing system lets you adapt to changing exertion and weather without overheating or chilling. Start with a moisture-wicking base layer that pulls sweat from skin. Add an insulating mid-layer such as fleece or lightweight down for warmth. Finish with a waterproof, windproof shell that blocks gusts and wet snow. Vent zippers and breathable fabrics help manage perspiration during climbs. Carry an extra dry base layer for breaks or emergencies. Avoid heavy cotton that traps moisture and chills. Fine-tune with a vest or active insulation when moving hard. The goal is steady comfort, not maximum warmth at all times.
3. Warm Wool or Synthetic Socks
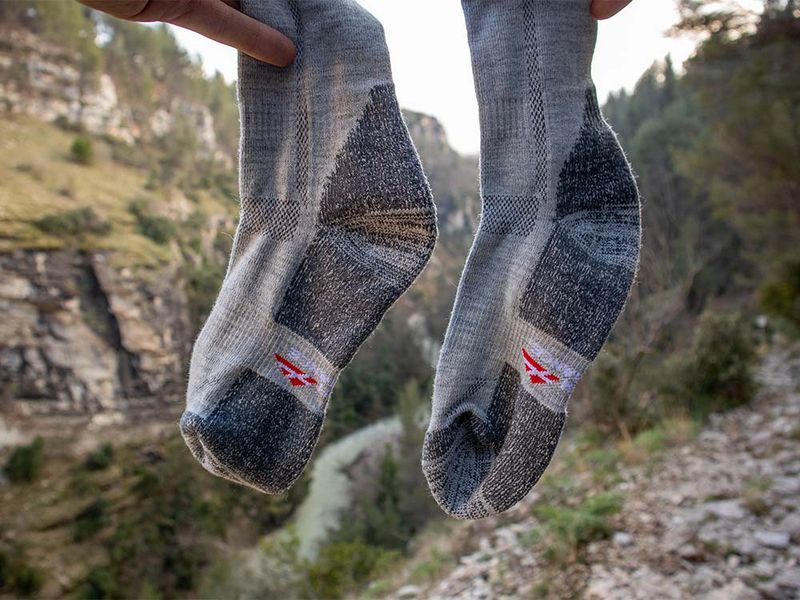
Warm wool or synthetic socks keep feet dry, cushioned, and blister-free in cold conditions. Merino wool blends regulate temperature and resist odor, while synthetic fibers excel at wicking and durability. Choose a thickness that matches boot volume to avoid constricting circulation. Strategic cushioning under heel and ball reduces impact on frozen terrain. Consider liner socks for moisture management on long days. Avoid cotton because it holds water and chills quickly. Bring a spare pair to swap at lunch or if you step in slush. Seamless toes reduce friction points. Dry, warm feet preserve energy and morale on winter treks.
4. Hat, Gloves, and Neck Gaiter
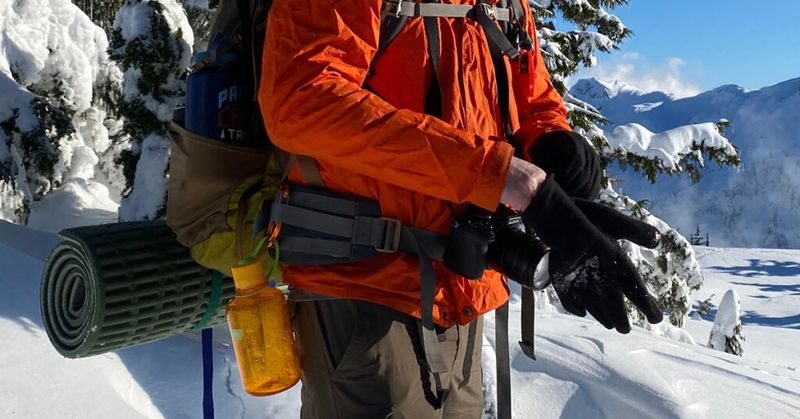
Protecting extremities is crucial because heat loss accelerates in wind and snow. A warm beanie or insulated cap preserves core warmth, while a neck gaiter or balaclava shields cheeks from biting gusts. Pair insulated gloves with waterproof shells or choose mittens for superior warmth on frigid days. Carry a thin liner glove for dexterity tasks like adjusting zippers or using a phone. Rotate damp gloves with a spare dry set if conditions are wet. Ensure a snug but comfortable fit that maintains circulation. Face coverage reduces frostnip risk. Small, lightweight, and invaluable, these items often determine overall comfort.
5. Trekking Poles with Snow Baskets
Trekking poles with snow baskets add stability on packed snow, powder, and mixed ice. The wider baskets prevent poles from plunging too deep, saving energy and improving rhythm. Adjustable shafts let you lengthen slightly for descents or shorten for climbs. Carbide tips bite into ice and crust, while interchangeable rubber caps protect rock surfaces. Wrist straps should be set for quick release to prevent entanglement during a slip. Poles also help probe drifts and hidden obstacles. Choose durable locks that resist freezing. Weight matters less than reliability in winter. Poles reduce knee strain and promote balance when the trail disappears.
6. Microspikes or Traction Devices
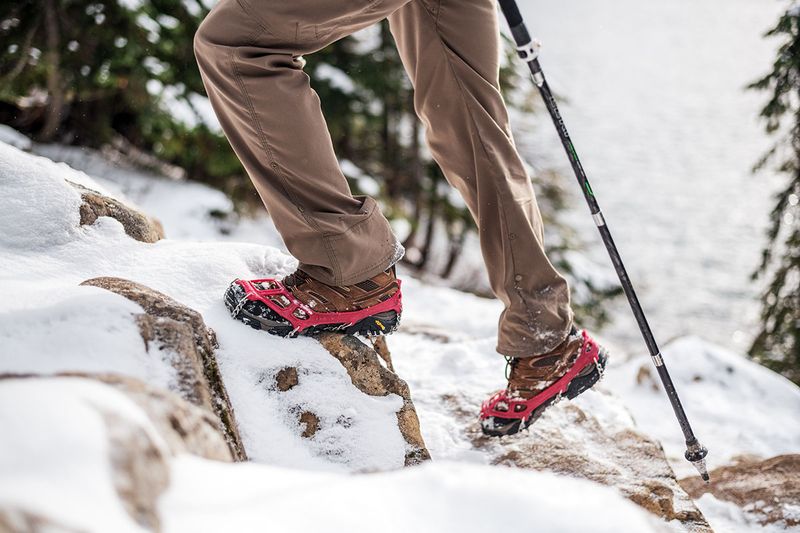
Microspikes or other traction devices transform slippery trails into manageable routes. Stainless-steel chains and teeth wrap around boots, gripping glare ice and hard-packed snow. They are faster to deploy than crampons and excel on rolling terrain. Ensure a snug fit that does not shift underfoot. Keep them accessible near the top of your pack for quick changes when conditions worsen. Avoid using on bare rock to preserve spikes. Carry a small stuff sack to keep wet gear contained after use. For steep, technical routes, evaluate if crampons are warranted. Good traction dramatically reduces falls and conserves energy.
7. Headlamp or Flashlight
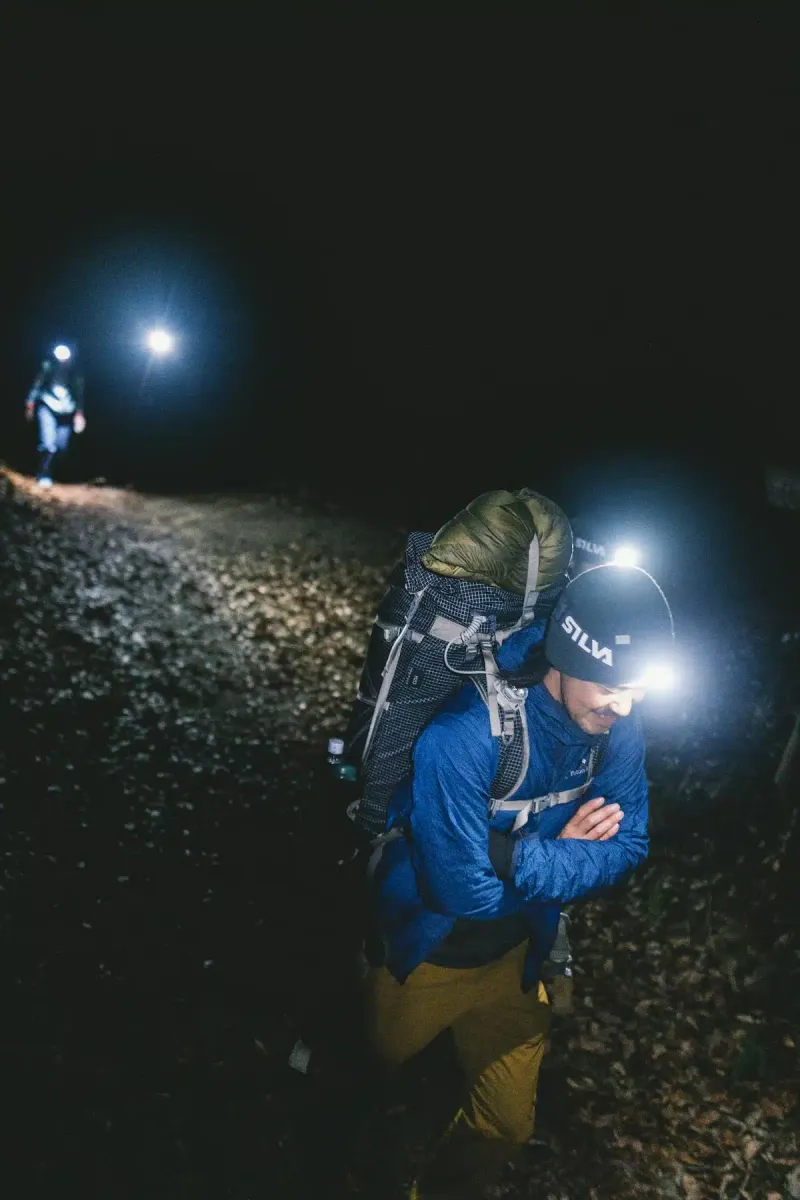
Winter days are short, and storms can dim daylight quickly, making a reliable headlamp or flashlight essential. Choose at least 300 lumens for trail finding, with a spot beam for distance and flood for camp tasks. Cold-resistant batteries and a lockout feature prevent accidental activation in your pack. Bring spare batteries or a small power bank for rechargeable models. Red mode preserves night vision during group travel. A headlamp keeps hands free for poles and navigation. Waterproof ratings help in sleet. Store close to body warmth when not in use. Light is safety once the sun dips behind the ridge.
8. Emergency Shelter
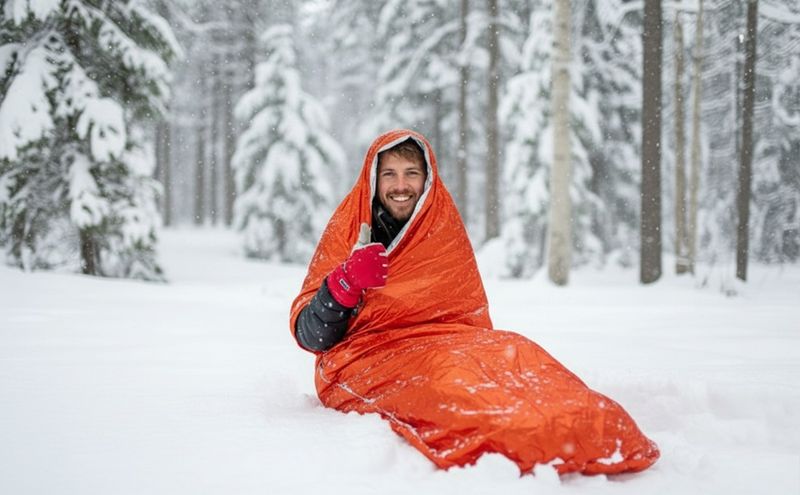
An emergency shelter provides critical protection if injury, weather, or route-finding delays stop progress. Ultralight bivy sacks and reflective space blankets block wind and conserve body heat. A small group tarp can create a quick windbreak for breaks. Practice deploying your shelter with gloves on, and store it where it is instantly accessible. Combine with an insulated sit pad to prevent conductive heat loss to snow. Bright colors aid visibility for rescuers. Weight is minimal compared to the safety margin gained. Do not rely solely on clothing for prolonged stops. A shelter buys time and preserves calories when plans change.
9. Extra Food and Water
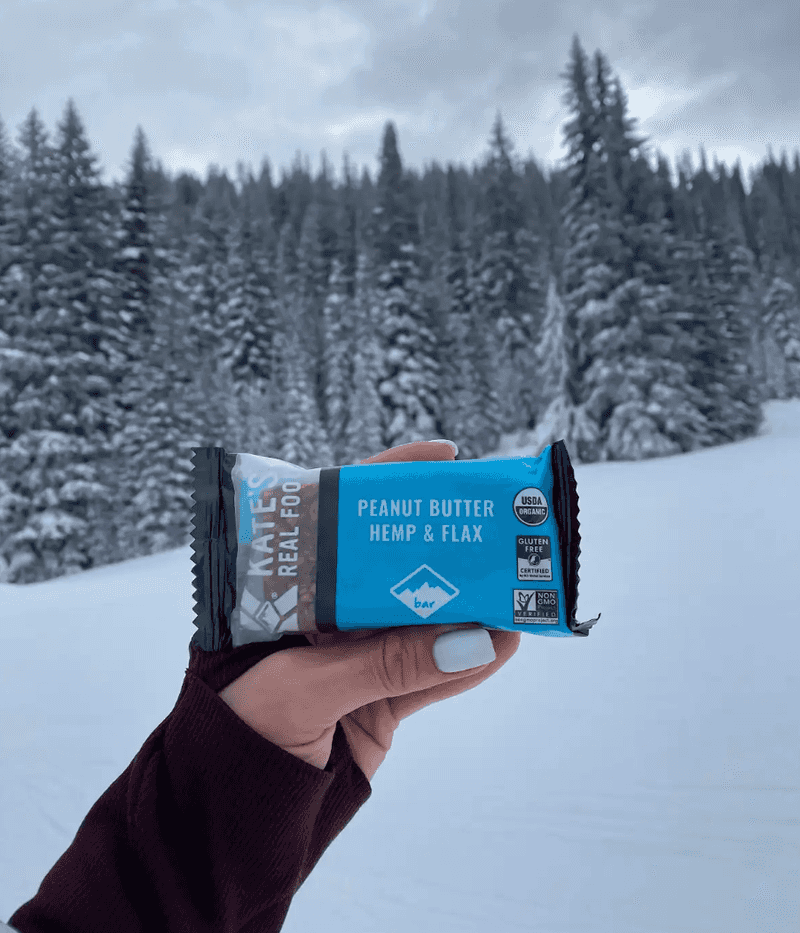
Cold weather suppresses thirst and increases calorie burn, so pack more snacks and fluids than you think you will need. High-energy foods like nut butters, bars, and cheese resist freezing and are easy to eat with gloves. Keep an insulated bottle with warm tea or electrolyte drink to encourage sipping. Store water upside down in insulated sleeves so ice forms at the bottom. Plan a snack schedule to avoid energy crashes. Avoid overreliance on hydration bladders that can freeze. Bring a small stove for hot drinks on longer outings. Fueling consistently keeps muscles warm and decision-making sharp.
10. Navigation Tools
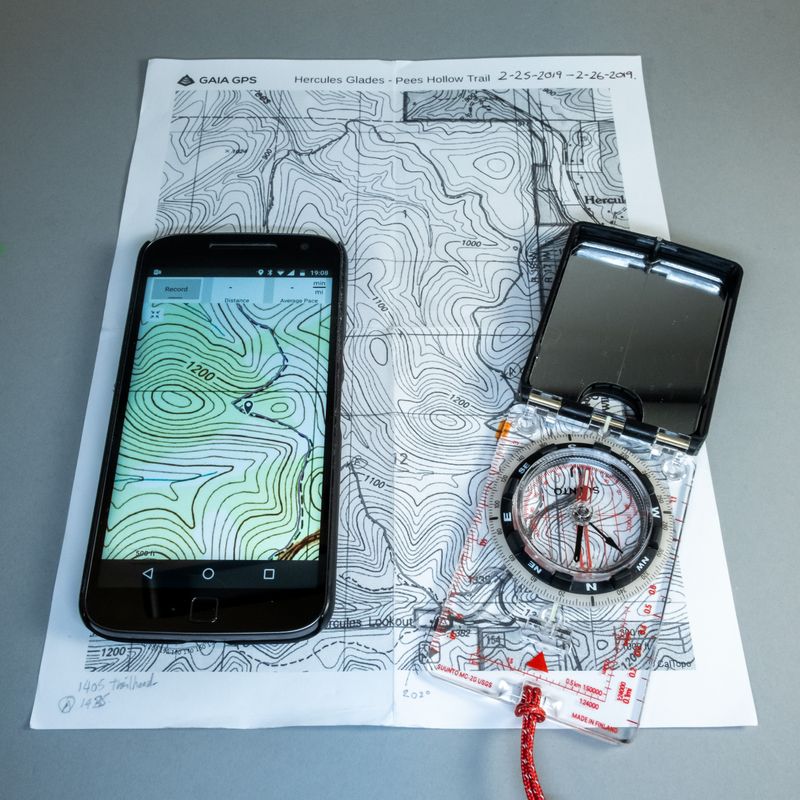
Reliable navigation tools are vital when snow obscures trails and familiar landmarks. Carry a paper map and compass as a non-electronic backup, and understand how to use them. Augment with a GPS app such as Gaia GPS or a dedicated handheld for track recording and route checks. Pre-download offline maps and set waypoints at junctions. Cold drains batteries, so keep devices warm and bring spares. Check recent trip reports for changed conditions. Practice micro-navigation in low visibility using bearings and terrain association. Good navigation prevents costly detours and conserves energy when daylight and warmth are limited.
11. Fire-starting Kit
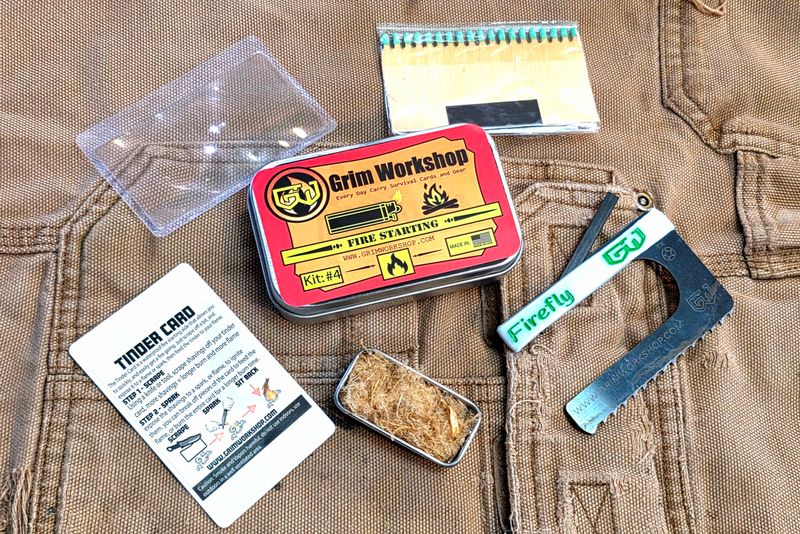
A fire-starting kit offers backup warmth and morale if you are delayed or soaked. Pack waterproof matches, a reliable lighter, and a ferro rod as redundancy. Include quick-igniting tinder such as cotton balls with petroleum jelly or commercial tabs. Store everything in a waterproof pouch and keep it accessible. Practice lighting with gloves in wind-safe positions. Use a small shovel or boot to clear snow to mineral soil before building. Respect local regulations and minimize impact. Fire is not a primary plan but a critical contingency when temperatures plummet and shelter alone is not enough.
12. First Aid Kit and Multi-tool
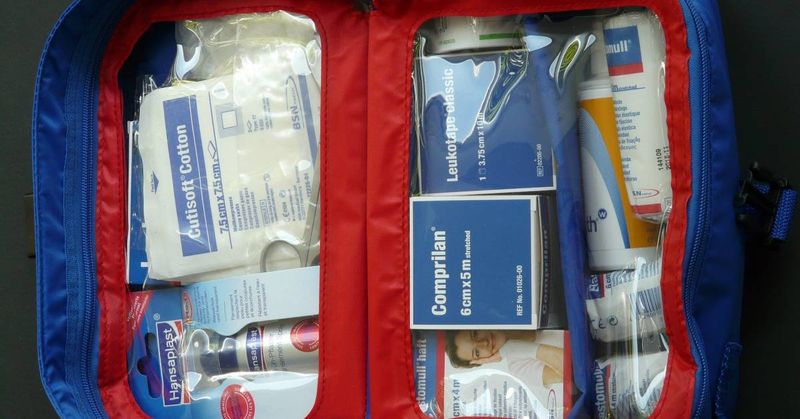
A compact first aid kit and multi-tool prepare you for minor injuries and gear fixes that could otherwise end a hike. Include blister care, adhesive bandages, gauze, tape, pain relievers, and a compact foil blanket. Add a few zip ties, repair tape, and needle with thread for emergency gear repairs. The multi-tool should have pliers, a sharp blade, and scissors for trimming tape or cutting cord. Customize for your group and skills. Keep items organized in labeled pouches for quick access with cold hands. Regularly refresh supplies and check expiration dates. Preparedness maintains momentum and reduces risk.