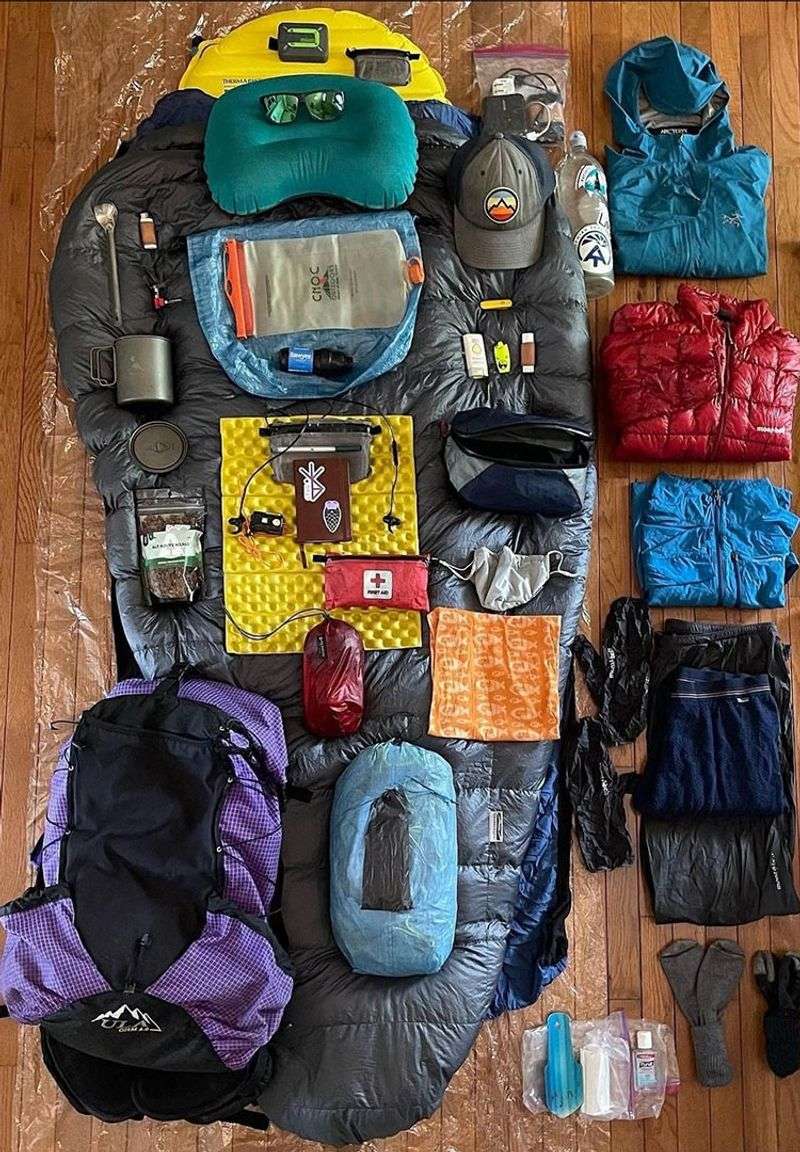
Packing light for a weekend trek can transform your hiking experience, making it more enjoyable and freeing you from the burden of unnecessary weight. This guide offers 15 essential tips to streamline your gear while ensuring you have everything you need for a safe and comfortable adventure. From understanding the importance of base weight to choosing the right footwear, each item is designed to help you pack efficiently without compromising on essentials. Dive into these valuable insights and set off on your next trek with confidence.
1. Pick a realistic base-weight goal (then work backward).
Ever wondered how much you really need to carry? Setting a base-weight goal is your starting point. Aim for a category that suits both your comfort and budget. Ultralight is often under 10 lb (4.5 kg), while lightweight is less than 20 lb (9 kg). Knowing your target lets you work backward, eliminating non-essentials.
This method requires discipline but results in a more enjoyable trek. You might be surprised at how little you actually need. Think of the freedom you’ll feel with a lighter pack!
Remember, every ounce counts. How low can you go?
2. Weigh everything—really.
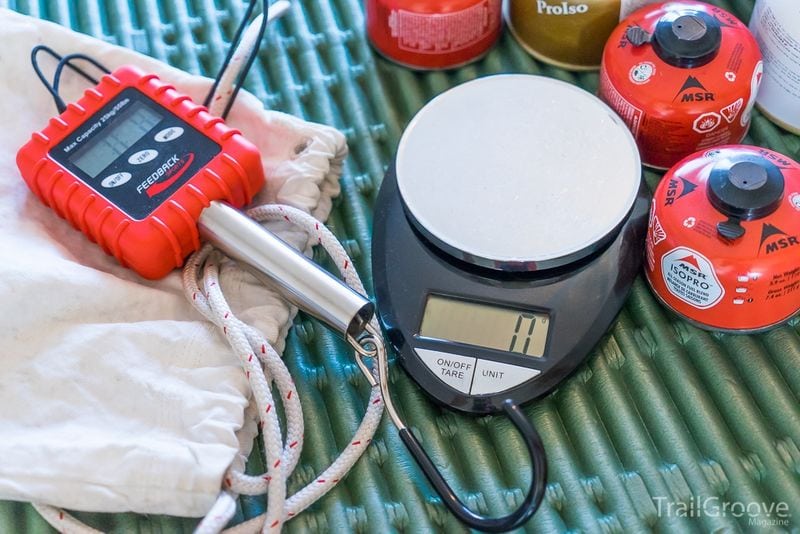
Precision is key. When it comes to packing light, weighing every item is crucial. Use a kitchen or luggage scale to determine exact weights. Tools like LighterPack can help visualize where grams are stacking up.
It’s a meticulous process, but one that uncovers surprising savings. Many hikers prefer their own measurements over manufacturer specs.
This practice not only trims weight but also sharpens your packing strategy. It’s a rewarding exercise that leads to a significantly lighter load. Can you spot where those extra grams are hiding?
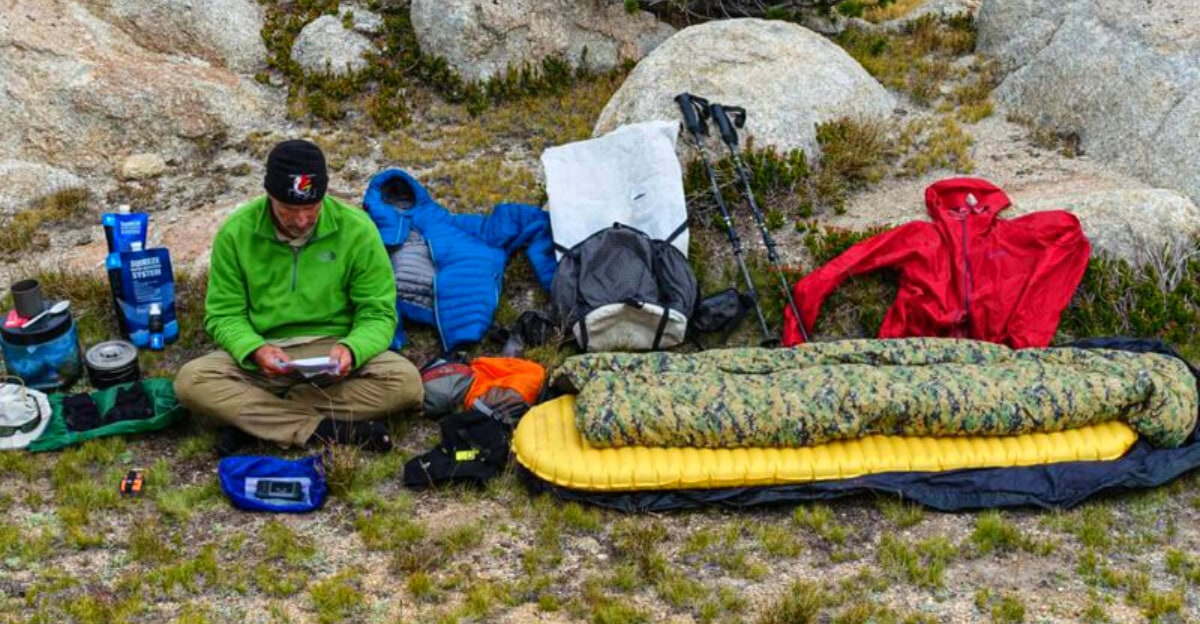
3. Start with the “Big Three”: shelter, sleep system, pack.
Your biggest weight savings start with the Big Three: shelter, sleep system, and pack. Prioritize these for lighter alternatives before looking elsewhere.
For instance, consider a tent that uses trekking poles instead of traditional ones. Opt for a quilt over a sleeping bag if conditions allow.
This strategic approach can make a significant difference in your total pack weight. Focus on these areas can lead to the most rewarding results. What adjustments can you make?
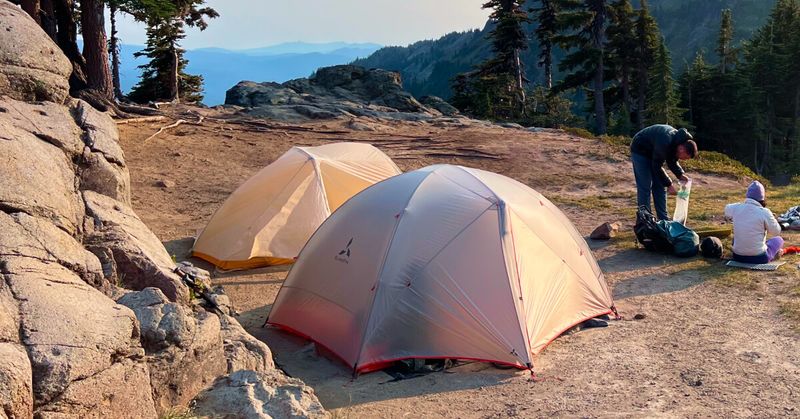
4. Consider a trekking-pole tent (or a tarp) to drop pole weight.
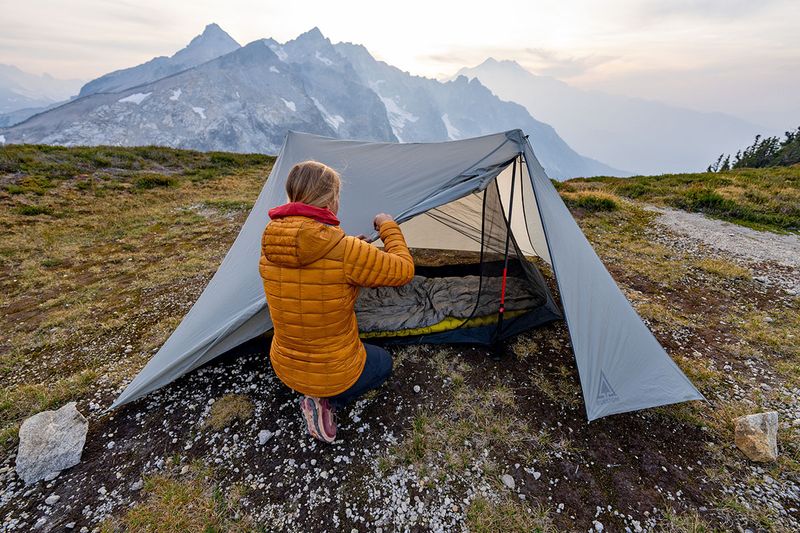
Trekking-pole tents offer a unique way to save weight by eliminating traditional tent poles. These modern shelters use trekking poles for support, combining two gear pieces into one.
They are popular among weight-conscious hikers for their efficiency. A tarp is another option, providing shelter with even less weight.
Adapting to this style might take practice, but the benefits are undeniable. It’s a clever solution that appeals to those aiming to minimize their load. Are you ready to try it?
5. Quilt vs. sleeping bag: match the tool to the temps.
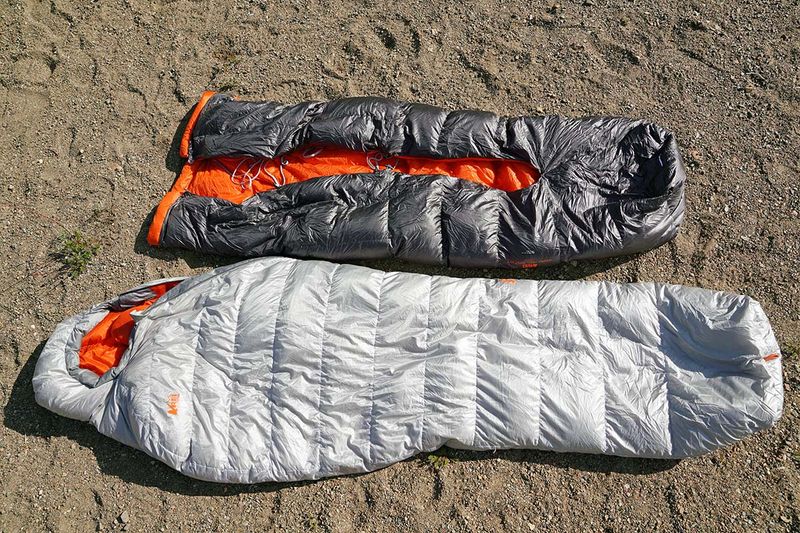
Choosing between a quilt and a sleeping bag depends on expected temperatures. Quilts are lighter and pair well with insulated pads for 3-season hikes. They are versatile and compact, ideal for milder conditions.
Conversely, traditional mummy bags are preferred for colder environments. They offer more coverage and warmth retention.
This decision-making ensures comfort and efficiency during your trek. Analyze the weather forecast and your sleeping preferences to make the best choice. Which suits your adventure?
6. Dial the pad’s R-value for the season.
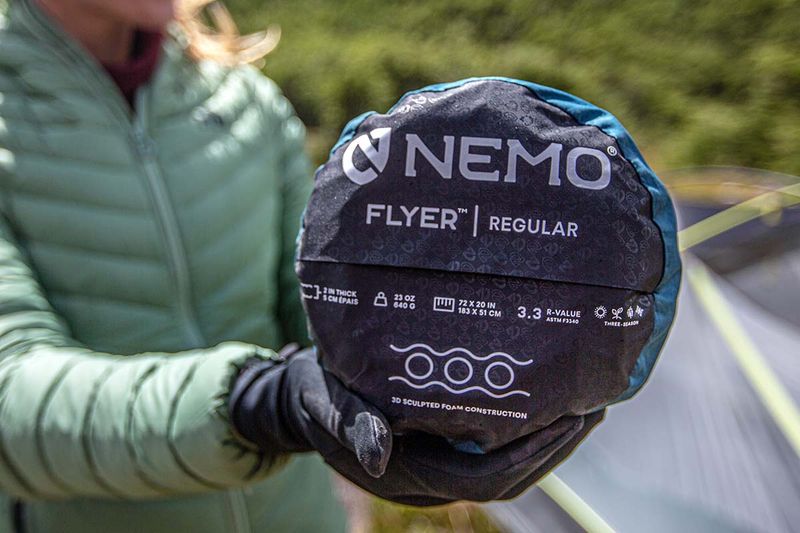
The R-value of a sleeping pad indicates its insulation level. Selecting the right R-value for your season can prevent overpacking or, worse, shivering through the night.
A higher R-value means better insulation, crucial for cold-weather treks, while a lower one suffices for milder conditions.
Understanding this aspect is critical for a comfortable rest without extra weight. It’s a detail often overlooked but vital for ultralight packing. What’s the right R-value for your journey?
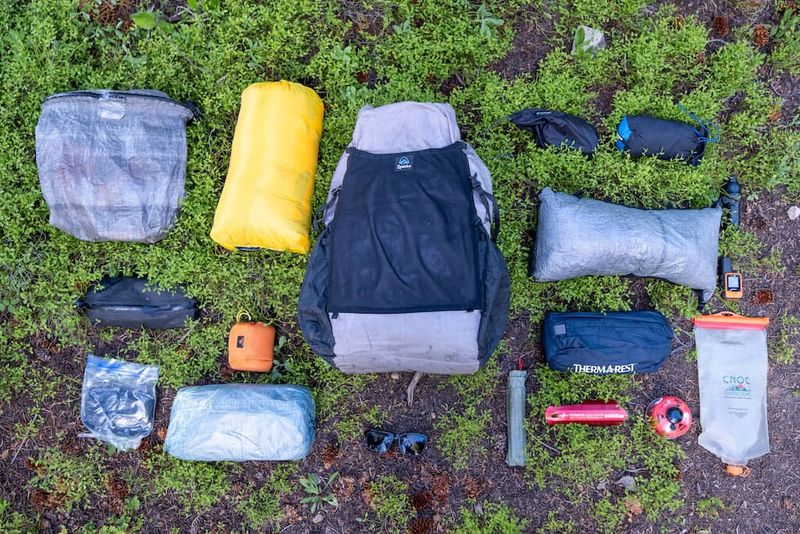
7. Embrace the Ten Essentials—just the UL versions.
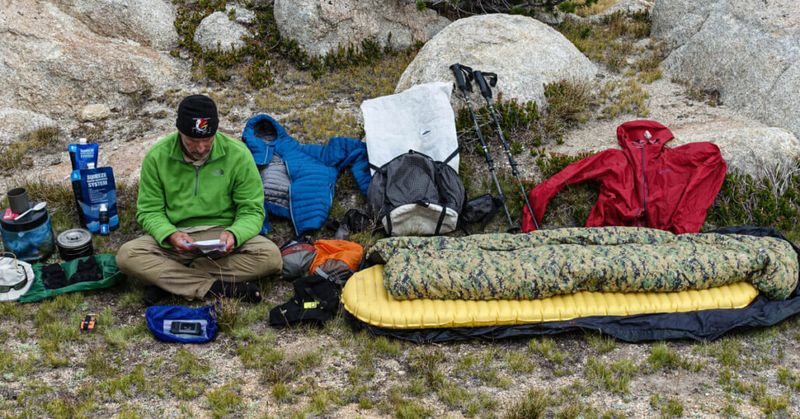
The Ten Essentials are non-negotiable, even in ultralight trekking. These include navigation, headlamp, sun protection, first aid, knife/repair kit, fire, shelter, extra food, water, and clothing.
Focus on ultralight variants—compact, yet functional. They ensure safety without unnecessary bulk.
Skipping them isn’t an option; instead, prioritize efficient versions. It’s about being prepared with minimal weight. Are you equipped with the essentials?
8. Water plan: carry smart, treat reliably.
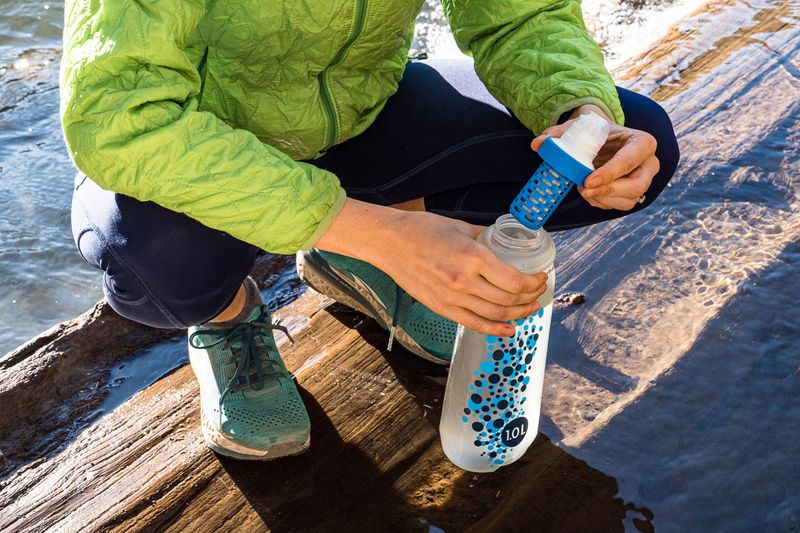
Water is crucial but heavy. Plan your refills and carry only what’s needed between sources. Various treatment methods exist, like boiling, chemical tablets, or filtration.
Each method has its trade-offs in weight, speed, and taste. Choose a strategy that aligns with your route and preferences.
This approach balances hydration needs with weight efficiency. It’s a critical element of any ultralight trek. What’s your water strategy?
9. Repackage and right-size consumables.
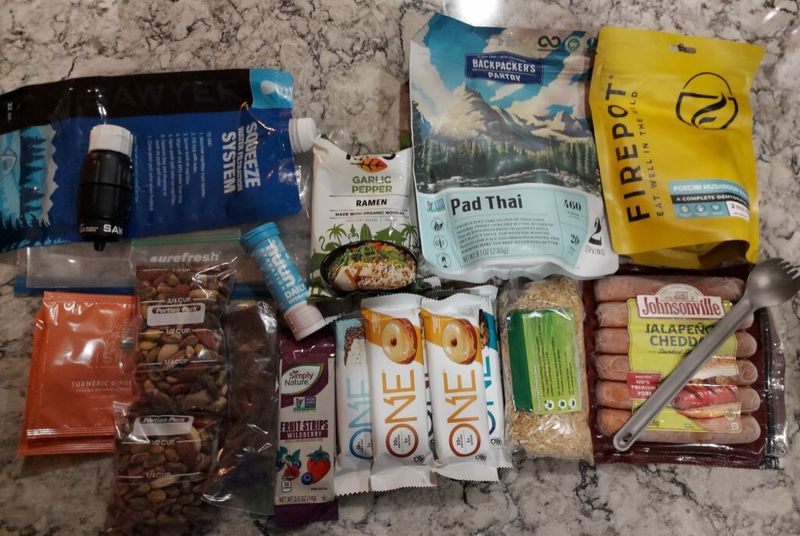
Little things add up. Repackaging consumables like sunscreen, soap, and food into smaller containers cuts bulk and waste.
This practice supports Leave No Trace principles while trimming grams from your pack. Consider resealable bags or compact bottles.
It’s about efficiency and responsibility, ensuring you carry only what’s necessary. Are your consumables right-sized?
10. Mind stove and fire regs (they change).
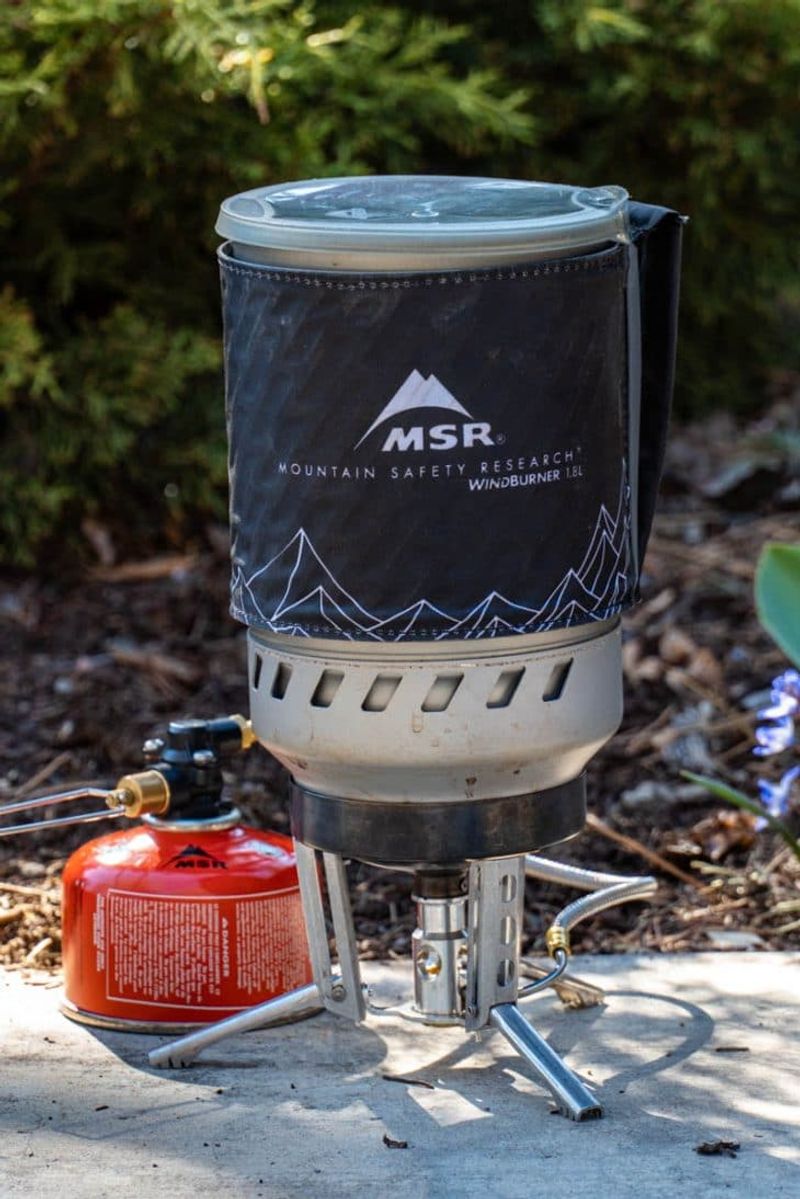
Stove and fire regulations vary, so check local orders before you go. Often, only stoves with shut-off valves, like gas canister stoves, are permitted.
Alcohol stoves may be restricted in some areas. Regulations change frequently and can impact your gear choices.
Stay informed to avoid surprises and stay compliant. How will you cook on your next trek?
11. Food & bears: store it like a pro.
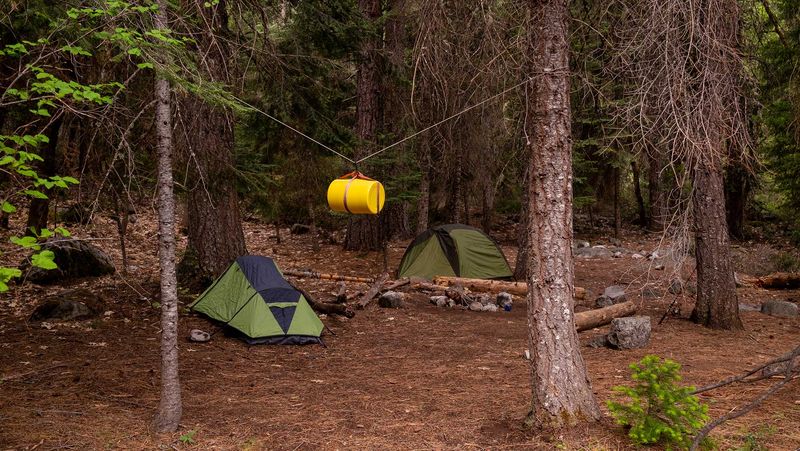
Encountering bears requires proper food storage. Know the regulations for your area—bear canisters might be mandatory. In some regions, they are non-negotiable.
Practice the “Bear-muda Triangle” by separating your camp, kitchen, and food storage areas.
These steps are critical for safety and conservation. How prepared are you for bear country?
12. Footwear: don’t carry heavy boots if you don’t need them.
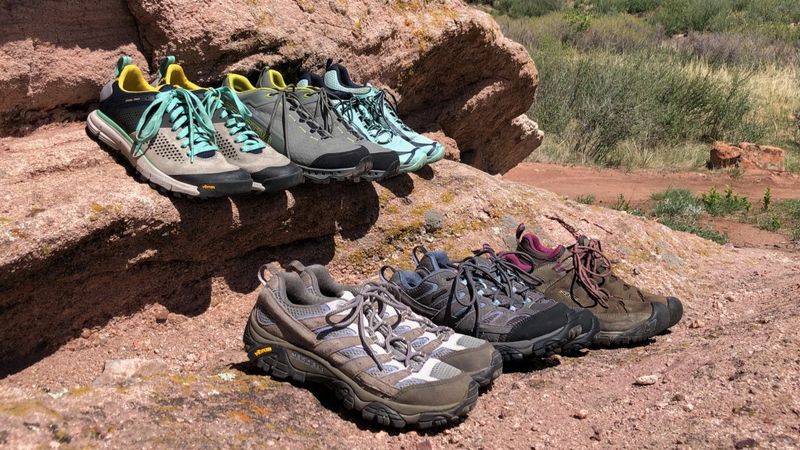
Footwear impacts your journey significantly. For well-maintained trails, consider trail runners or light hikers, which offer flexibility and breathability.
Heavier boots are suited for rough terrains or heavier loads. Evaluate your route and experience to make an informed choice.
This decision reflects both comfort and practicality, optimizing your trekking experience. What’s your best fit for the trail?
13. Navigation first, redundancy second.

Navigation is paramount. Download offline maps and carry backups like a map and compass or spare power. This redundancy ensures you’re never lost.
It’s part of the Ten Essentials for good reason. Technology can fail, and having a backup is wise.
This strategy provides peace of mind and safety on any trek. What’s your navigation plan?
14. Hygiene done right (and light).
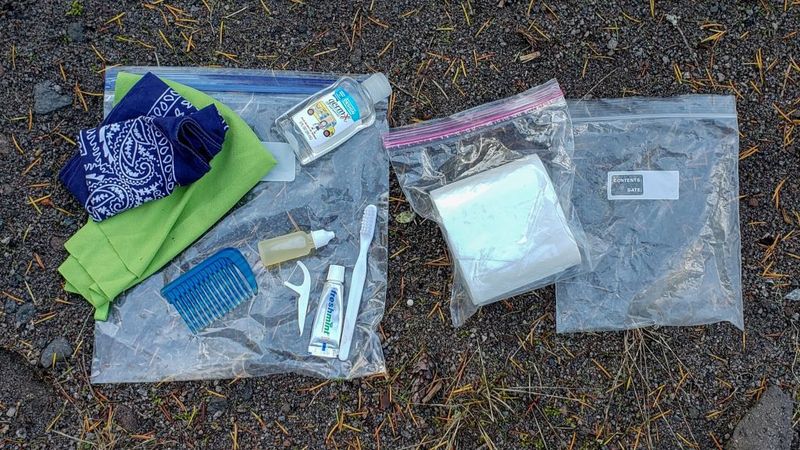
Hygiene is easily managed with minimal weight. A tiny trowel and a compact “poop kit” suffice for most needs.
Standard guidance includes creating catholes 6–8 inches deep and away from water and trails.
This approach respects the environment and aligns with Leave No Trace ethics. How light is your hygiene kit?
15. Audit duplicates and single-use items.
Efficiency is about versatility. Audit your gear for duplicates and single-use items. Multi-use tools, like trekking poles as shelter supports, are invaluable.
Eliminate “just-in-case” gear while keeping essential safety items. This process reduces weight and increases functionality.
It’s a smart approach to packing that optimizes your load. How versatile is your gear?